DIY Document Holder
 May 13, 2015
by
Leslie Anderson
I like writing first drafts, particularly first drafts of tricky chapters, by hand. Being away from a computer helps me focus, and by writing things out, I’m less inclined to scrutinize my writing and delete it before it even has a chance at life.
I hate typing up what I write, though. At least, I hate having to look from the flat surface of my desk to the screen while typing stuff up. The repetitive motion is cumbersome, annoying, and when I have a dozen or more pages to type up, my neck starts to hate me.
Buying a desktop document holder was the obvious solution, but it seemed like a waste of money. Considering I’d probably end up breaking it or losing it between uses, and the fact that I’d have to store the thing, I discarded the idea for a while.
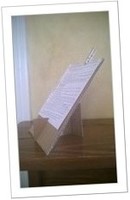
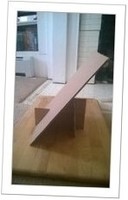
Then one glorious day, I realized I could probably improvise one out of cardboard. To my great surprise, it worked perfectly. This cardboard document holder isn’t sturdy enough to write on while it’s standing, but it’s great for propping up papers, which is all I need it for.
What you’ll need
-
Corrugated cardboard, the sturdier, the better
-
An exacto knife, or the skill to wield a pair of scissors well
- A clothes pin, or chip clip, or binder clip, or …
It’s a simple thing to make, really, with only one weird looking piece. I made mine big enough to handle standard 8” by 11” paper. You could easily go bigger or smaller, and it’s pretty easy to improvise, but since I know some people prefer direct instructions, I’ll walk you through how I made mine.
Step 1
Cut out three rectangles from your cardboard:
-
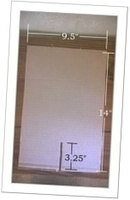
Piece 1: 14” by 9.5” This is for the big, flat section that the pages lean against
-
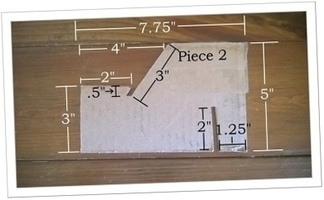
Piece 2: 5” by 7.75” This is the main support piece and will hold the pages’ weight.
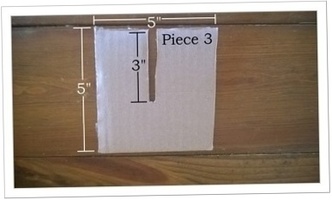
- Piece 3: 5” by 5” This is a cross-piece that gives the easel stability.
Step 2
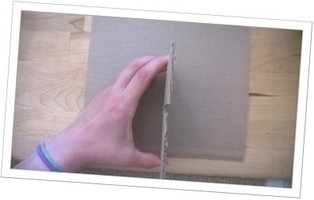
On the short side of Piece 1, the 9.5” side, find the center and cut a notch about the width of the cardboard. I accomplished this with relative ease by standing a piece of cardboard where the notch will be cut, and tracing the depth of the cardboard to ensure a good fit. The notch should be about 3.25” long.
Step 3
On Piece 3, cut a notch about 3” long into one of the sides.
Step 4
Piece 2 is slightly more tricky. It should start off 5” tall and 7.75” long. On the long side, cut a 2” long notch about 1.25” from one of the sides. Then, on the top of the same piece, on the opposite side from the first notch, I cut a second notch. It started about 2” from the side, and sloped to be about 4” from the side. That’s a comfortable angle for me to read from while sitting at my computer. Your mileage may vary, so you may want to play around a little bit to find the best angle for you.
Now, on piece 3, having such a deep notch on the top make it hard to fit paper in there, and obscures some of the writing. So I cut off most of the cardboard between the angled notch and the outside edges, leaving about a 0.5” strip of cardboard there for the paper to tuck into.
Step 5
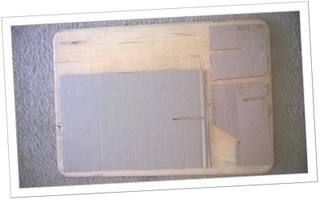
So you should have these three pieces:
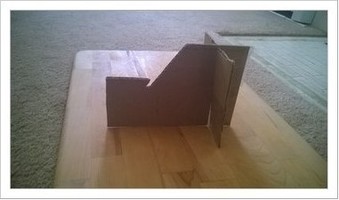
Then, all you do is assemble them like so:
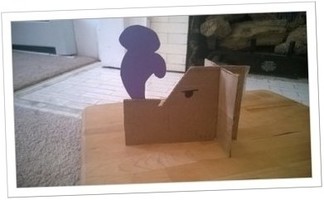
Now just add your pages, and clip them at the top to make sure they don’t fold forward while you’re working, and you’ve got a perfectly viable, almost (or completely) free stand for transcribing your stuff to the computer. The best part is that it stores flat, fits in my desk, and can easily be replaced. And that it kind of looks like an elephant.
